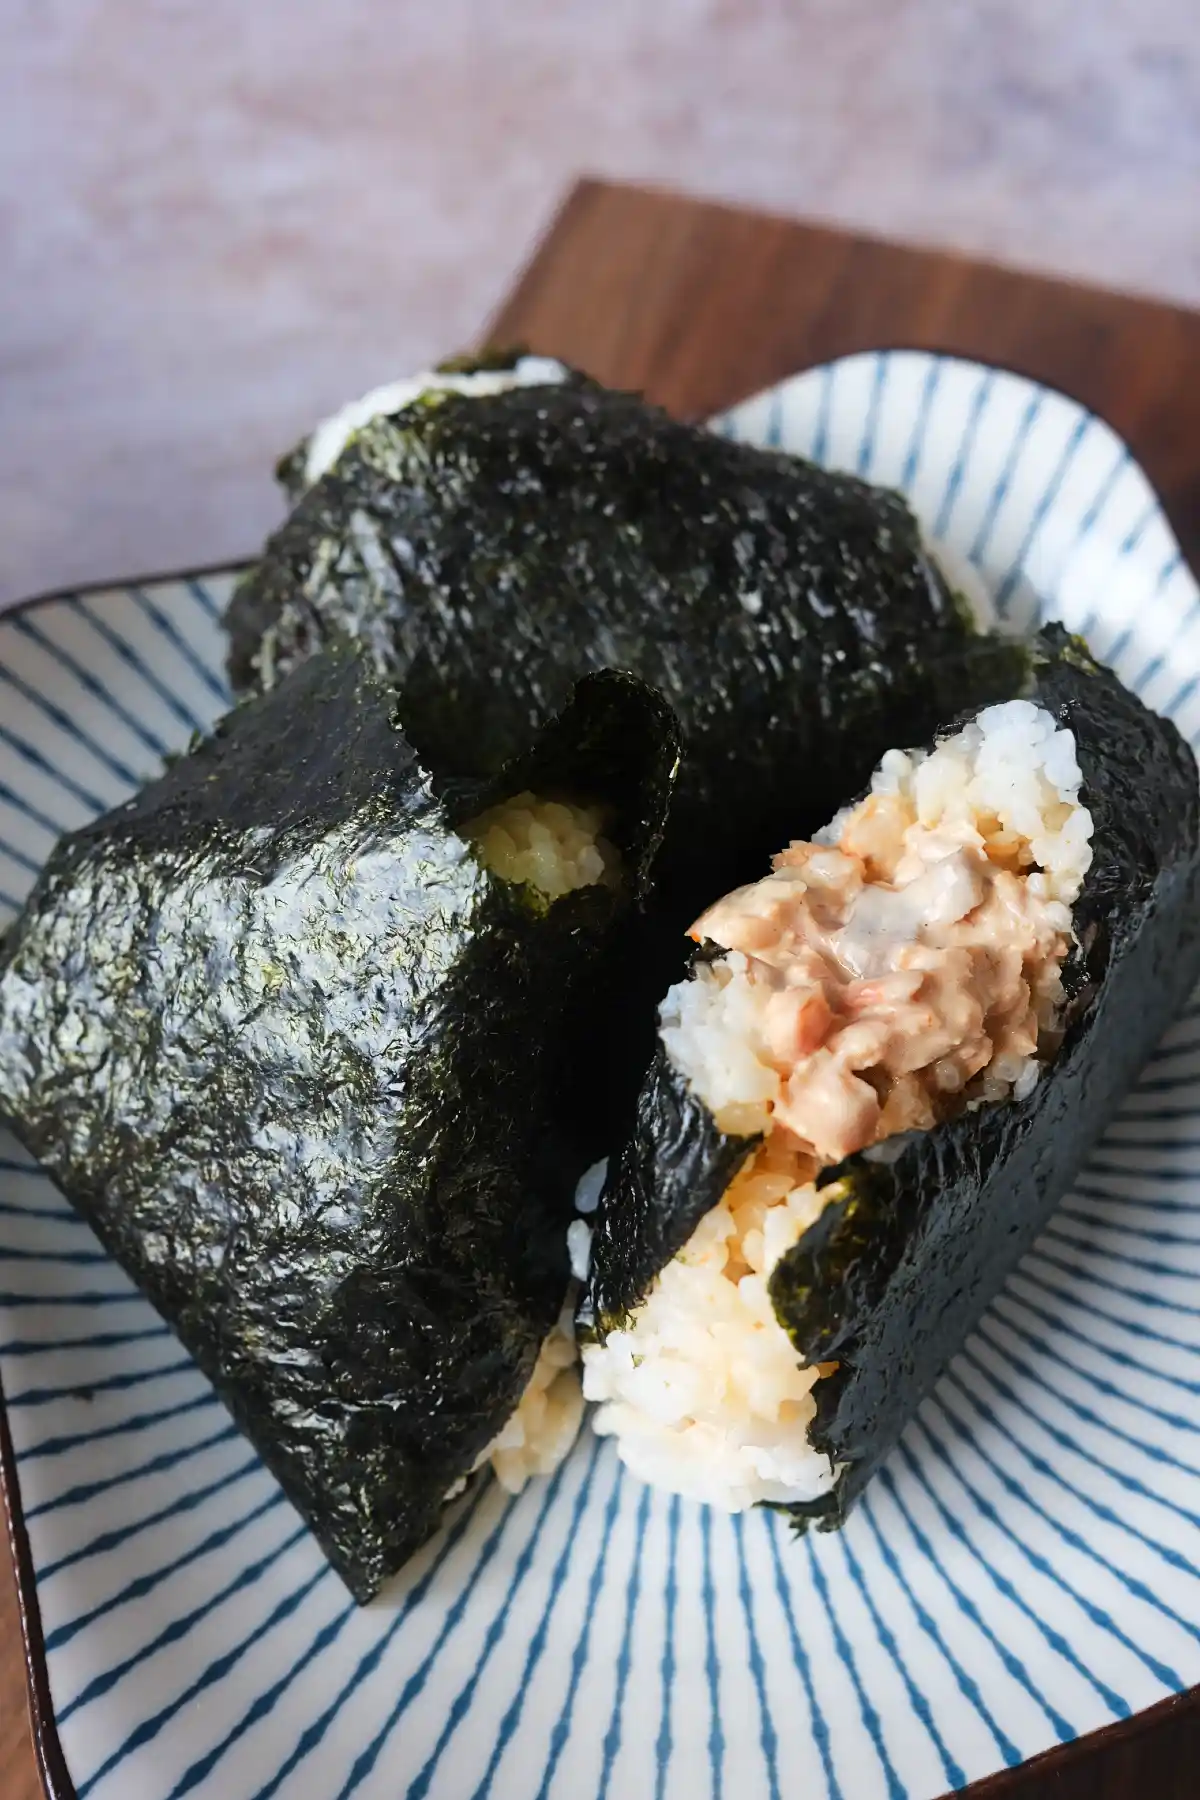
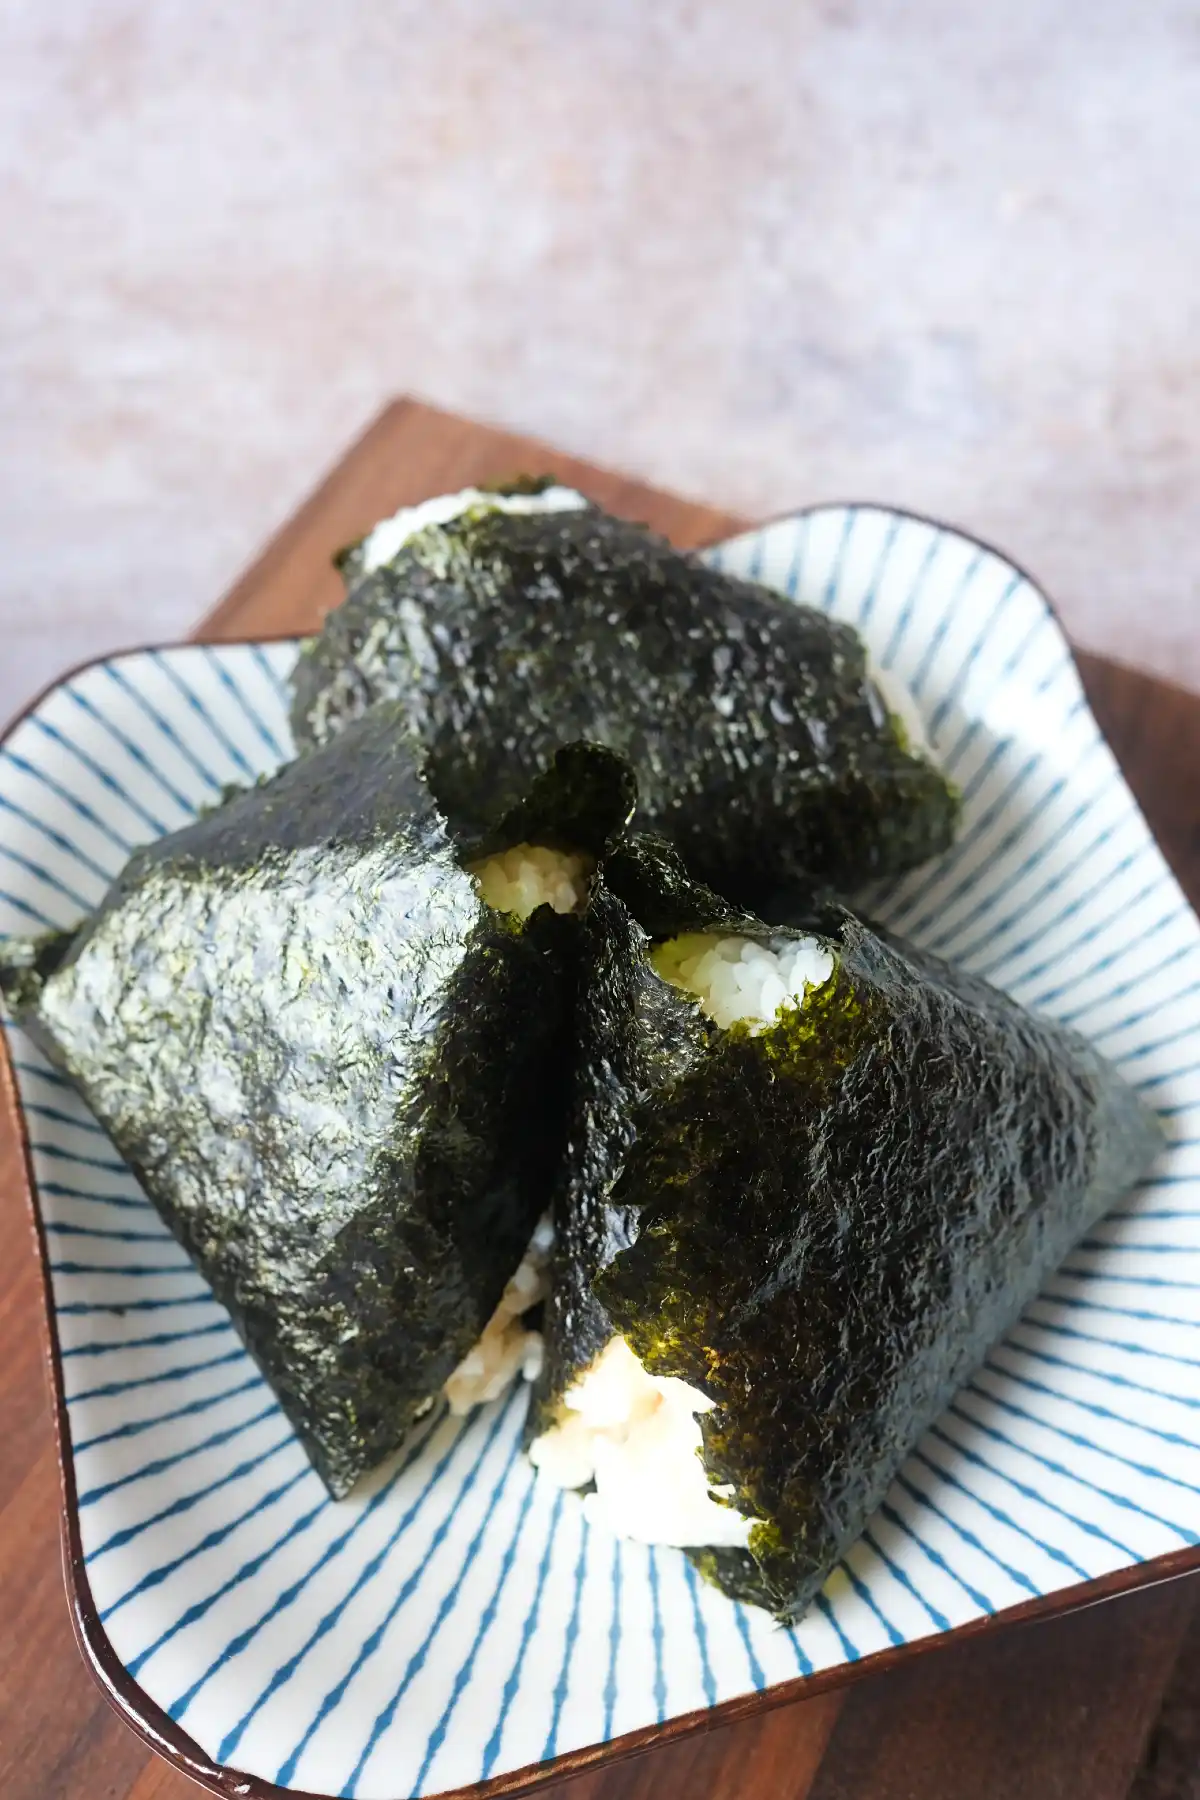
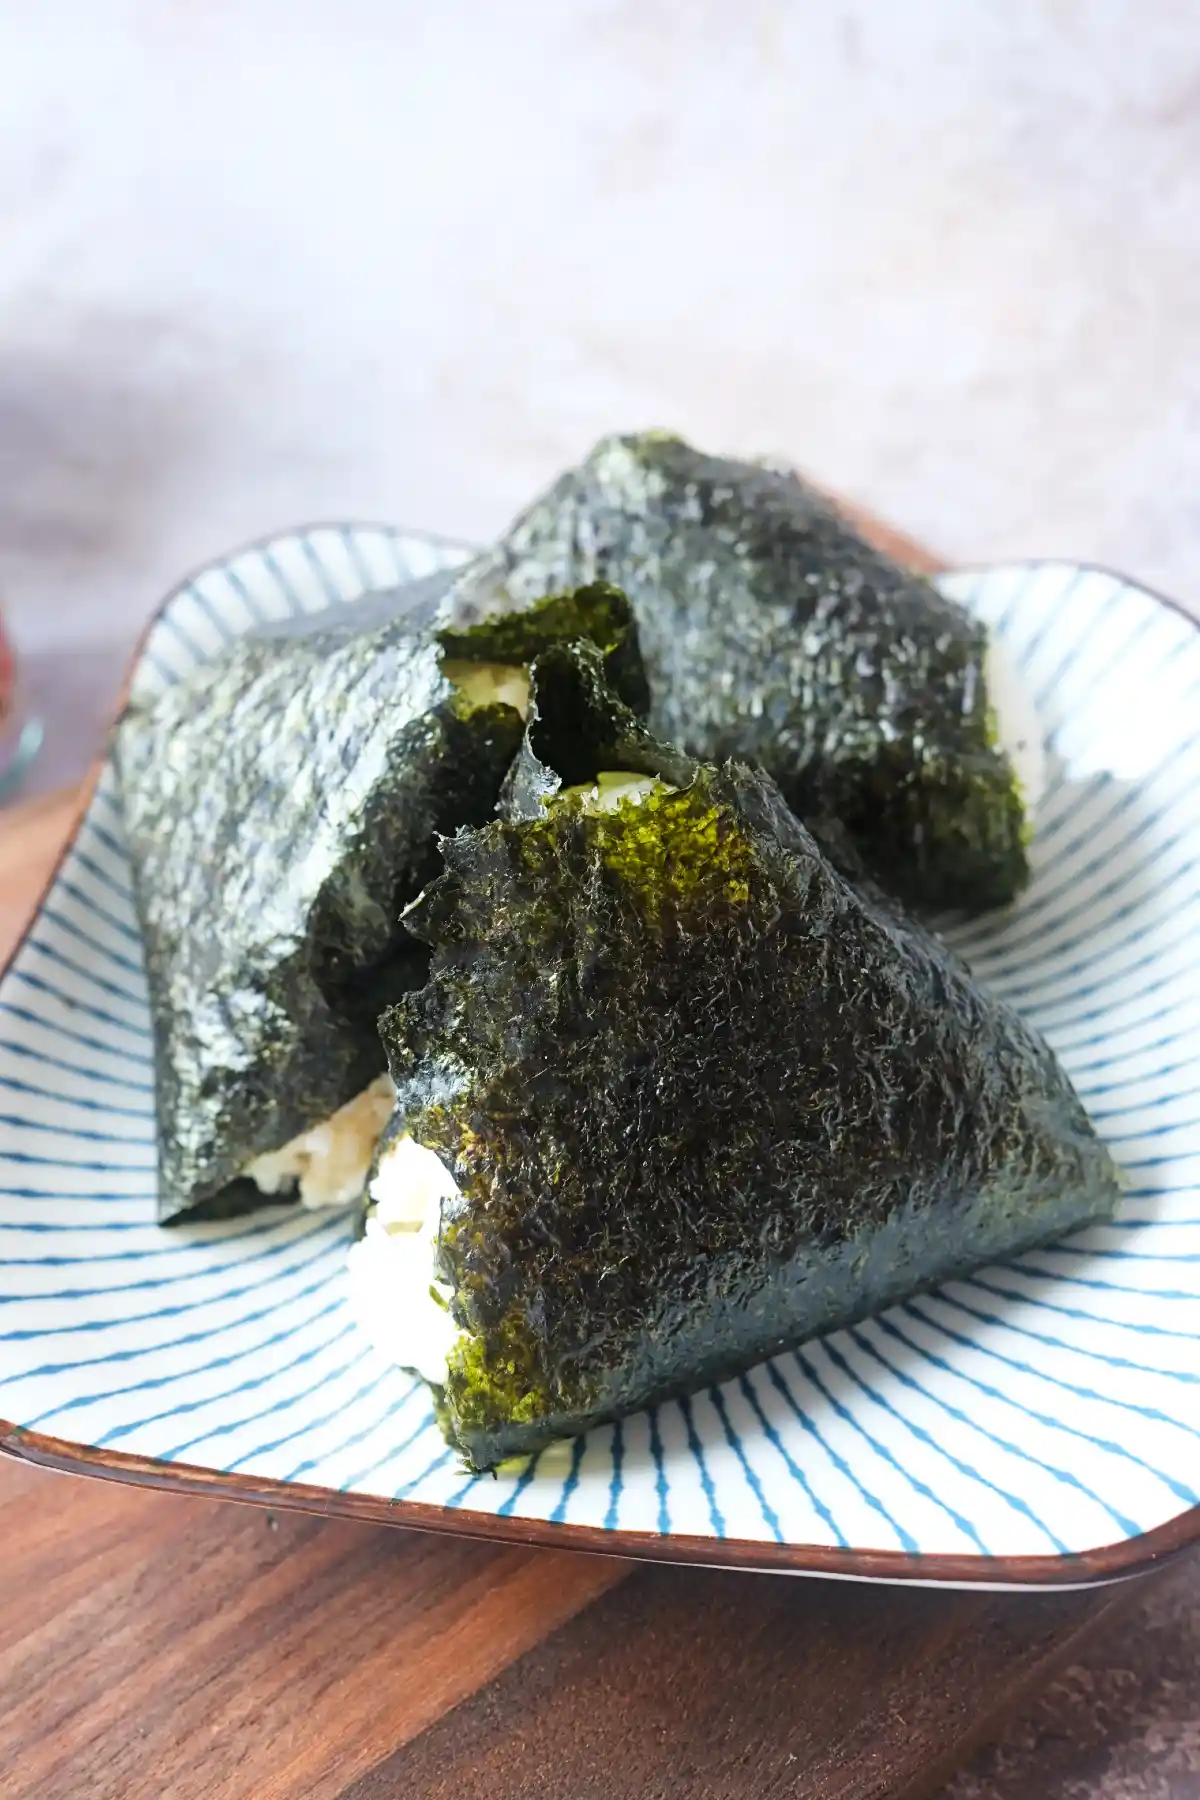
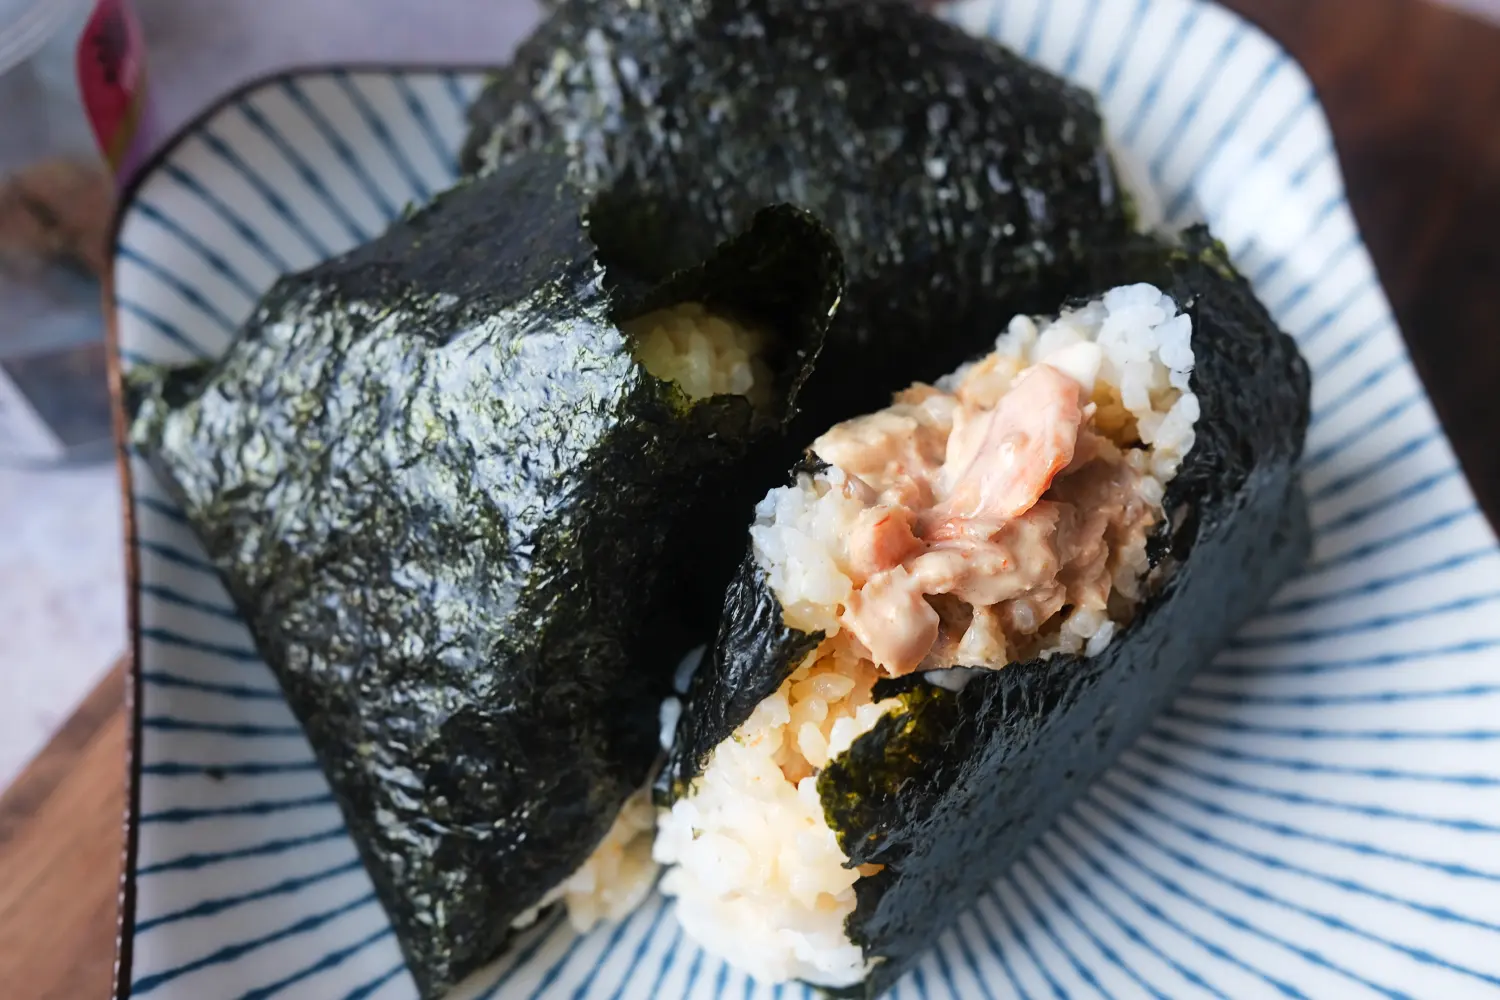
Salmon Onigiri is a Japanese rice ball filled with creamy salmon and wrapped in nori. It’s every bit as delicious as it sounds. Between the fluffy rice, creamy salmon filling, and crisp nori, every bite is packed with flavor.
I first tried salmon onigiri at a Japanese konbini and was surprised that something so simple could be so good.
It’s satisfying, convenient, and easy to take on the go. Toss one in your bag, pack it for lunch, or keep a few on hand for busy days.
The best part is how easy it is to make at home. No fancy ingredients or special equipment required.
What Is Onigiri?
Onigiri (おにぎり), also known as Japanese rice balls, is a Japanese snack made from rice that is shaped into triangles, balls, or cylinders and filled with a variety of ingredients.
Common fillings include salmon, tuna mayo, pickled plum, and seasoned cod roe. A sheet of nori is wrapped around the rice, making it easier to hold and eat.
You’ll find onigiri everywhere in Japan, from convenience stores to specialty shops. It’s portable, filling, and easy to customize.
Ingredients You’ll Need
- Japanese short-grain rice. Let the rice cool for a few minutes before shaping. It should be warm, not hot.
- Salmon fillets. Any type of salmon works here, including Atlantic, sockeye, coho, or king salmon. Canned salmon is fine, too.
- Sauce. A simple mix of mayonnaise, soy sauce, sriracha, mirin, and sesame oil gives the filling a creamy, savory, slightly spicy flavor.
- Nori. Cut the sheets in half before assembling so they’re the perfect size for wrapping.
Can I use canned salmon for onigiri?
Yes, canned salmon works well for onigiri. Just keep in mind that canned salmon is often saltier than fresh salmon, so you may want to use less soy sauce.
How to Make Salmon Onigiri
1. Air Fry the Salmon.

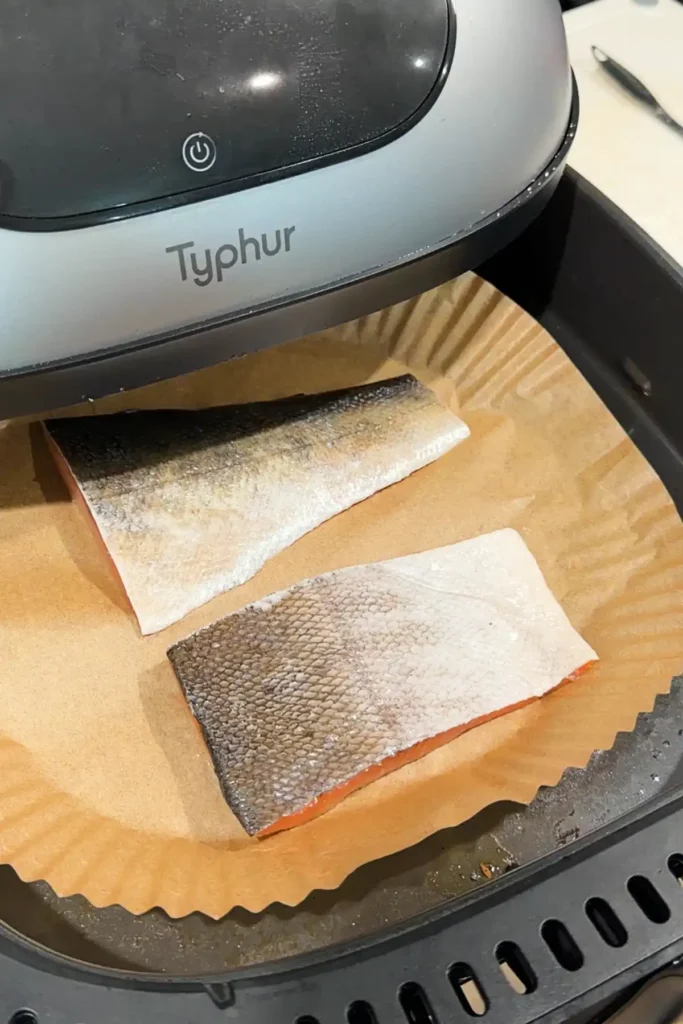
Preheat the air fryer to 400°F. Season the salmon fillets with salt and air fry for 7 to 10 minutes, or until the salmon flakes easily with a fork. Transfer to a bowl and let cool slightly.
2. Make the Salmon Filling.


Use a fork to flake the salmon into small pieces. Add the mayonnaise, soy sauce, sriracha, mirin, and sesame oil. Mix until smooth and well combined.
3. Prepare the Rice.
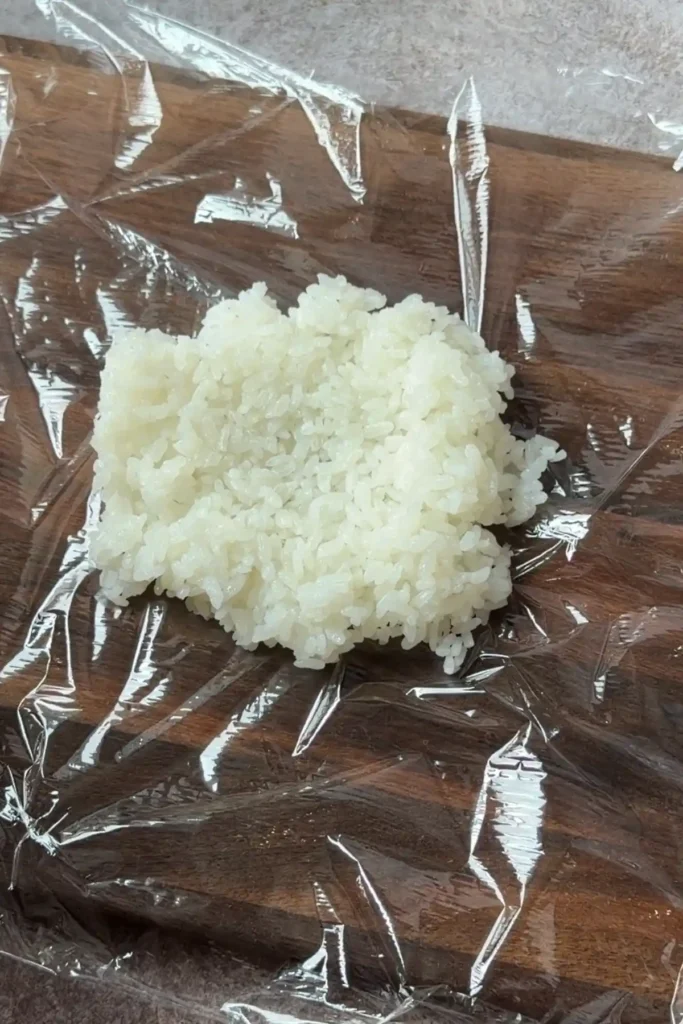
Tear off a large piece of plastic wrap and place it on your work surface. Add about 1/2 cup of warm rice to the center and gently flatten it into a circle. Lightly sprinkle with salt.
4. Add the Filling.
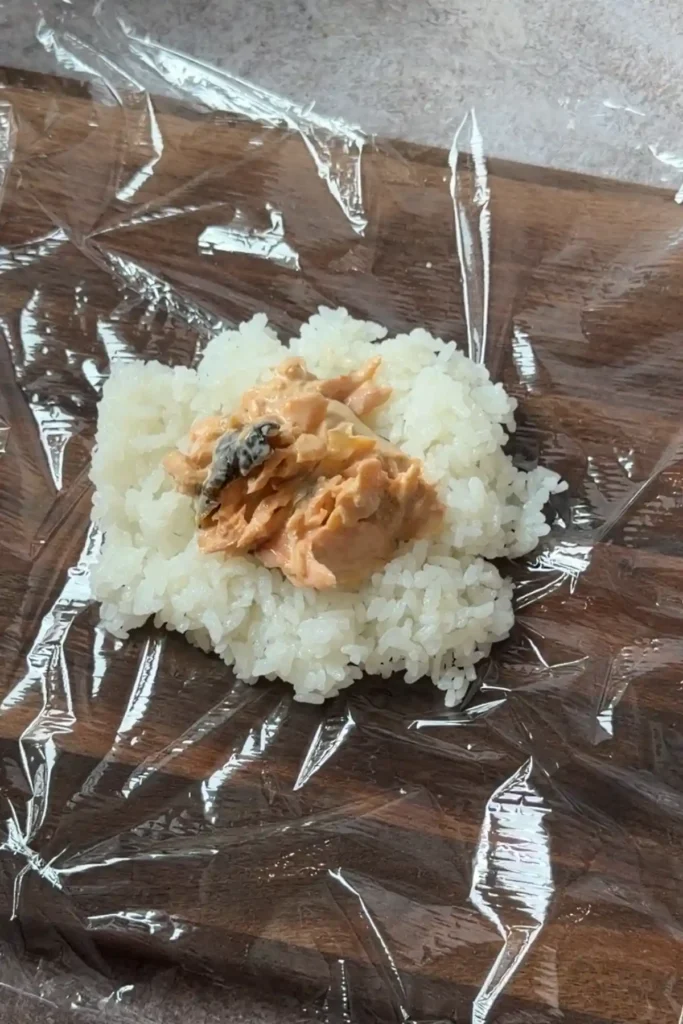
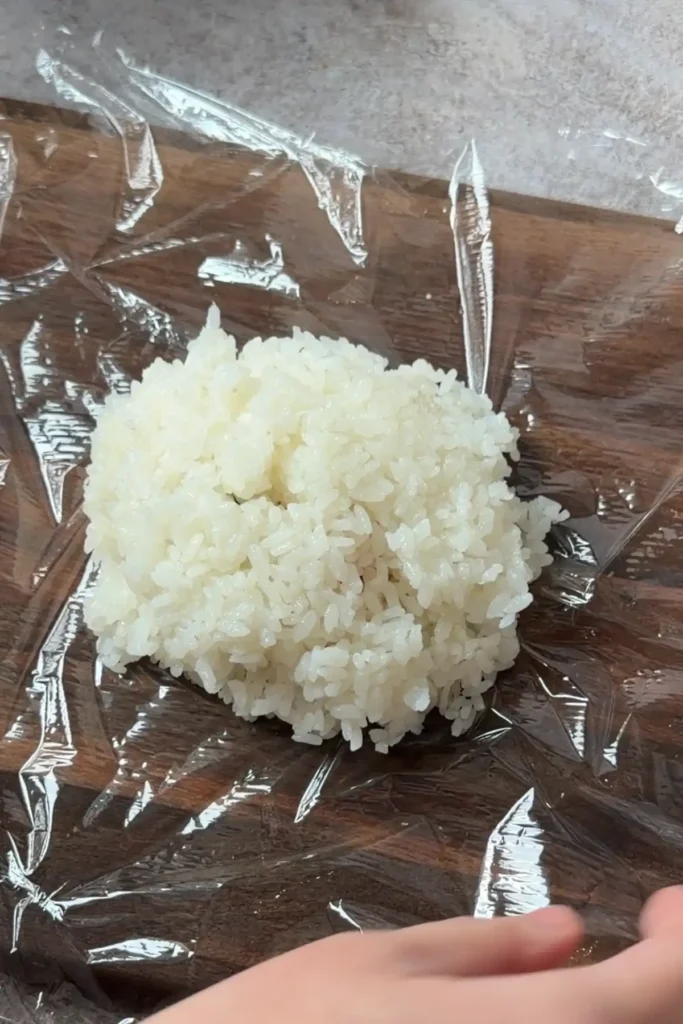
Spoon 1 to 2 tablespoons of the salmon mixture into the center of the rice. Top with another small handful of rice, completely covering the filling.
5. Shape the Onigiri.
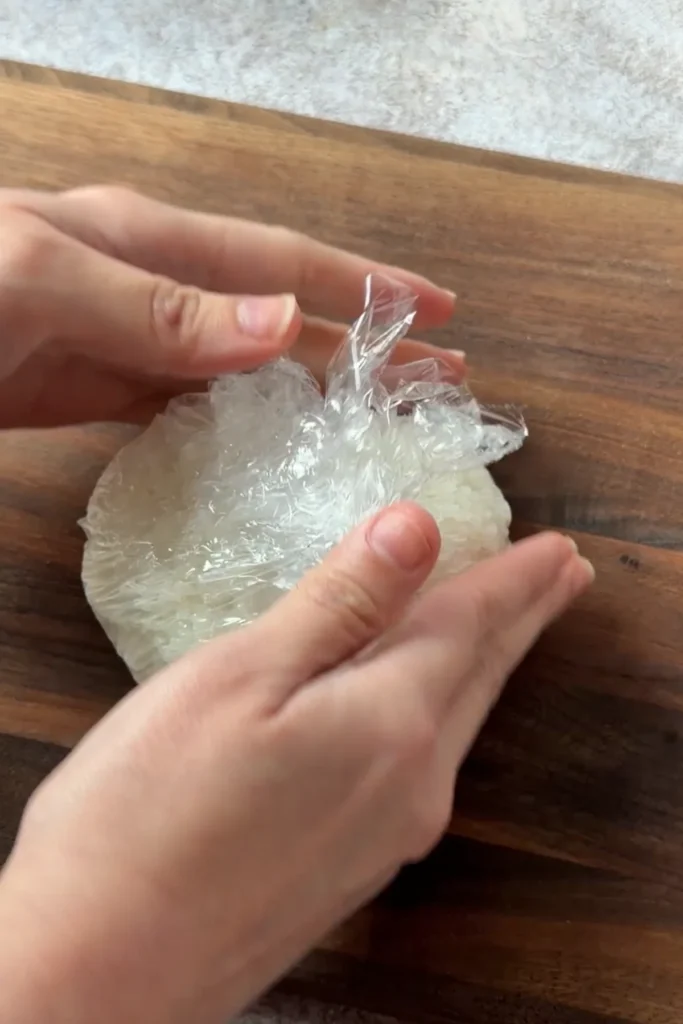

Bring all four corners of the plastic wrap together and twist to enclose the rice. Use your hands to gently shape the rice into a triangle, rotating as you press until all three sides are even.
Carefully unwrap the onigiri and set it aside while you prepare the nori.
6. Wrap With Nori.
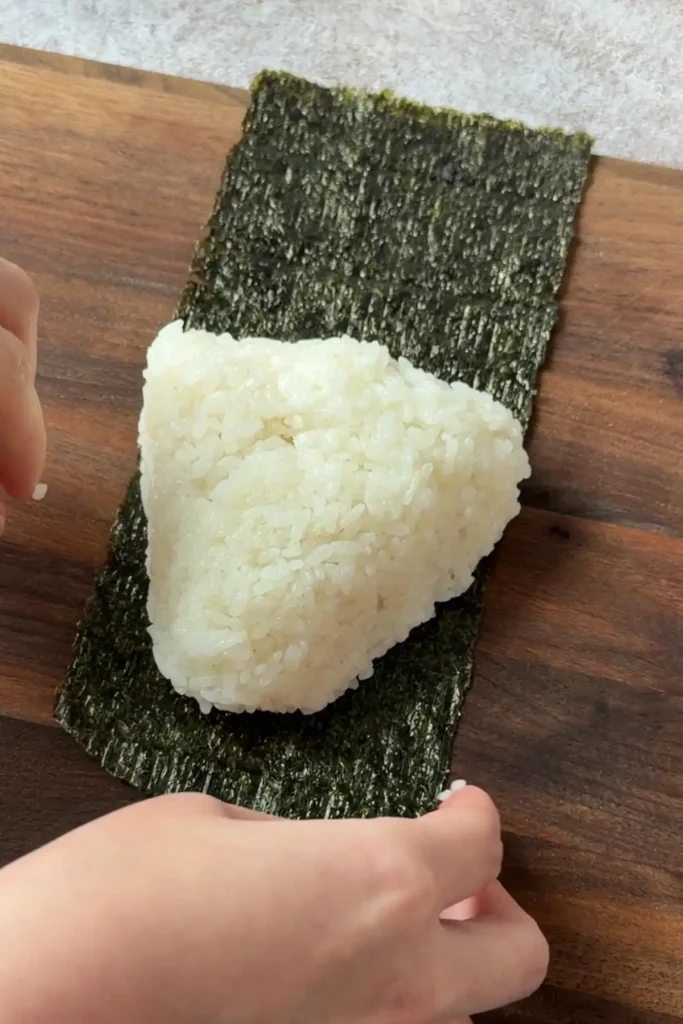
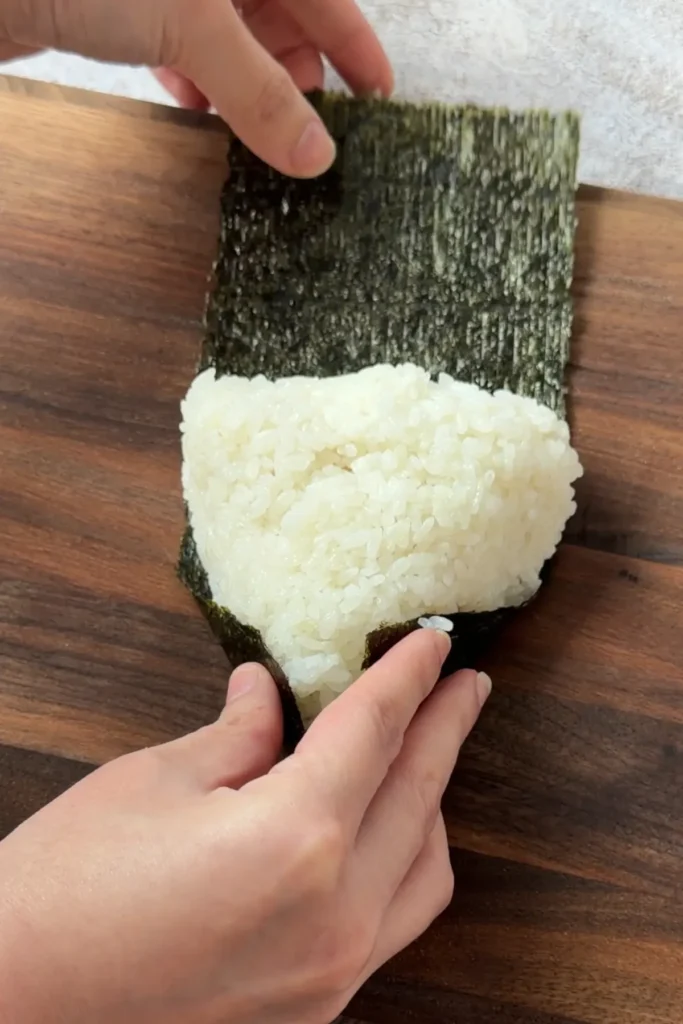
Place a half sheet of nori on your work surface. Set the onigiri in the center with one corner pointing toward you. Fold the bottom corners of the nori up along the sides of the onigiri, then fold the top portion down and over the rice. Gently press so the nori adheres.
7. Serve and Enjoy!
Tips for Shaping Onigiri
- Use warm rice. Freshly cooked rice is much easier to shape and holds together better than cold rice.
- Don’t overfill. Too much filling can cause the onigiri to crack or fall apart while shaping.
- Keep your hands lightly damp to prevent the rice from sticking.
- Apply gentle pressure. Press firmly enough for the rice to hold its shape, but avoid compressing it too much.
How to Store Salmon Onigiri
To Store: Wrap each onigiri individually in plastic wrap without the nori and refrigerate for up to 2 days. When ready to eat, wrap with a fresh sheet of nori just before serving to keep it crisp.
To Serve: Let the onigiri sit at room temperature for 15 to 20 minutes or warm it briefly in the microwave. Wrap with fresh nori just before eating.
Salmon Onigiri Recipe (Japanese Rice Balls)
Ingredients
- 2 cups cooked Japanese short-grain rice warm
- ½ teaspoon salt
- 2 salmon fillets
- ½ teaspoon salt
- 2 tablespoons mayonnaise
- 1 tablespoon soy sauce
- 1 tablespoon sriracha
- 1 teaspoon mirin
- ½ teaspoon sesame oil
- 3 sheets nori cut in half
Instructions
- Preheat the air fryer to 400°F. Season the salmon fillet with salt and place it in the air fryer basket. Cook for 7-10 minutes, or until the salmon flakes easily with a fork. Transfer to a bowl and let it cool slightly.
- Use a fork to flake the salmon into small pieces. Add the mayonnaise, soy sauce, sriracha, mirin, and sesame oil. Mix until well combined and creamy.
- Tear off a large piece of plastic wrap, about 12 inches long, and lay it flat on your work surface.
- Add about 1/2 cup of warm rice in the center of the plastic wrap. Gently flatten it into a circle about 4 to 5 inches wide. Lightly sprinkle with salt.
- Spoon about 1-2 tablespoons of the salmon mixture into the center of the rice. Top with another small handful of rice, about 1/4 cup, completely covering the filling.
- Bring all four corners of the plastic wrap together above the rice and twist the plastic wrap to fully enclose the onigiri.
- To form a triangle, hold the rice in one hand and use the edge of your other hand to create three sides. Press gently, rotate, and repeat until a neat triangle forms. Avoid squeezing too hard to keep the rice from getting too compressed.
- Carefully unwrap the onigiri.
- Place a half sheet of nori on your work surface. Set the onigiri in the center of the nori, with one corner of the triangle pointing toward you.
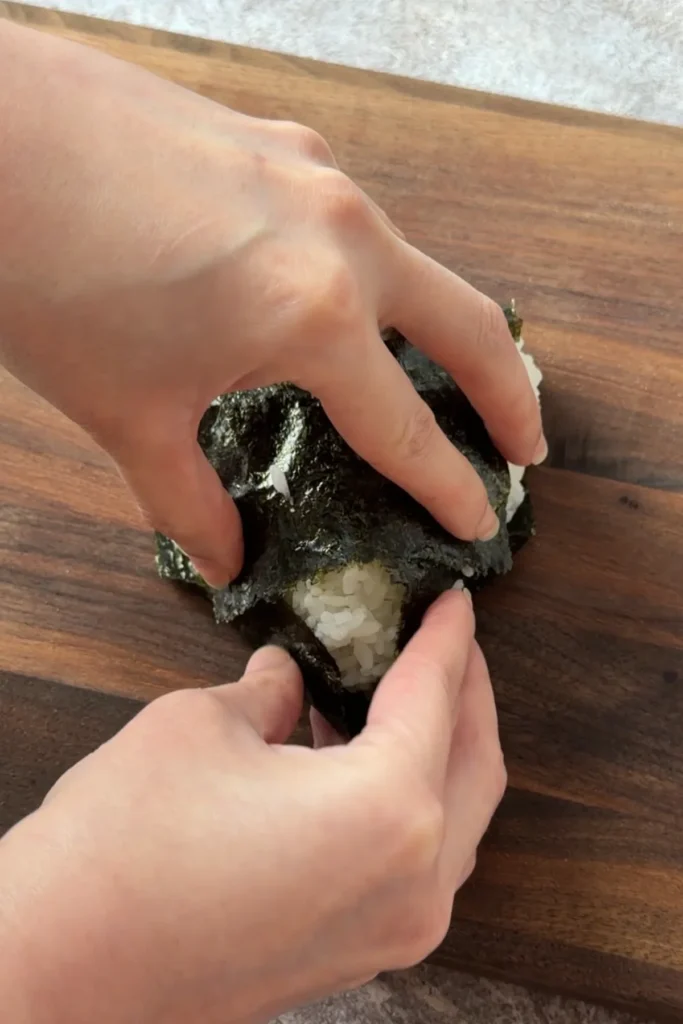
- Fold the bottom corners of the nori up along the sides of the onigiri, creating two small triangular flaps that meet near the center.
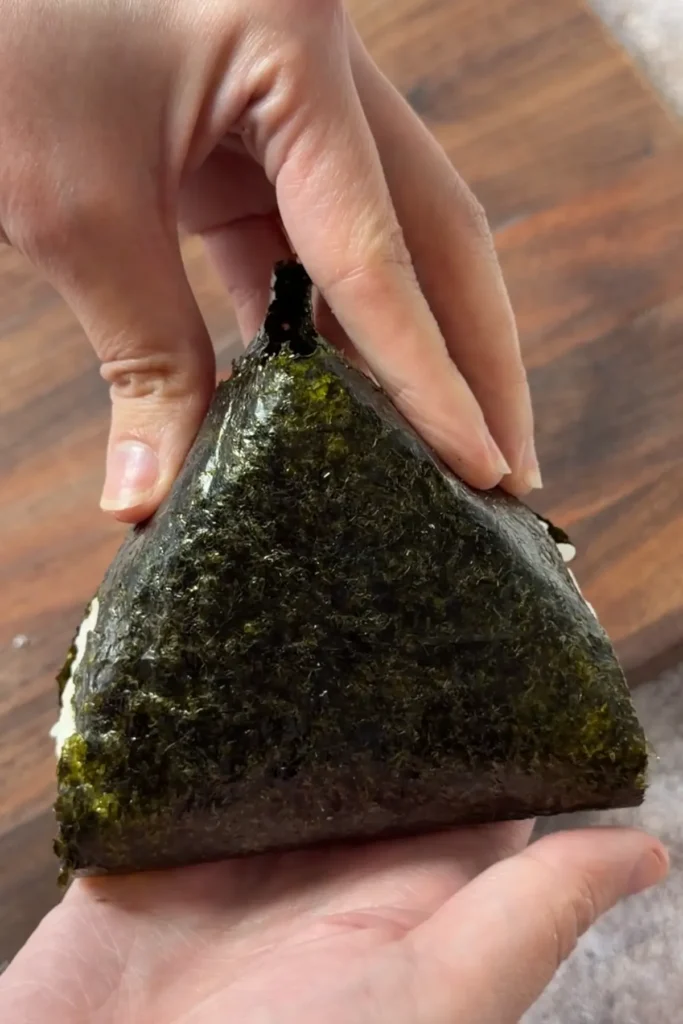
- Next, fold the top portion of the nori down and over the onigiri. Gently press the nori against the rice so it adheres.
- The nori should wrap around the sides and back of the onigiri while leaving a small triangle of rice visible at the bottom.
- Serve immediately and enjoy!